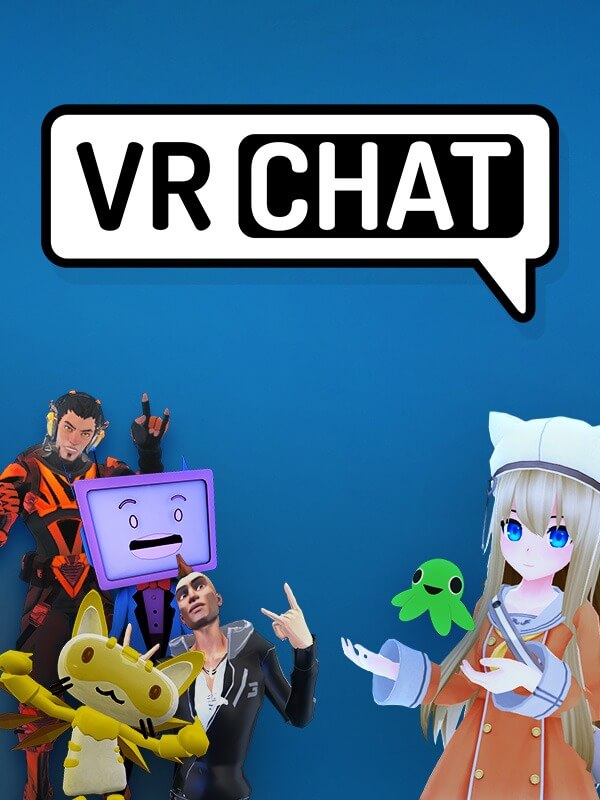
It is free for all, so, we can add friends on VRCHAT in free of cost.
Here you can simply make your own server as well.
Let’s begin!
VRCHAT

The reason VR aficionados and players getting crazy about VRChat is the expanding and engaging world that transforms game experiences.
VRCHAT is a popular and free multiplayer online experience and doesn’t assume VRCHAT requires a VR headset. It doesn’t.
With applications like VRCHAT, you can socialize with people overseas.
The difference though is you can walk through virtual environments as if all of you are in the same location. Some environments are interactive.
By next year we should see applications released that offer people the ability to see digital representations of themselves and friends.
With some effort, you should be able to create a digital photo realistic character of yourself and upload it to VRCHAT. You can also create your own environments.
With apps like Big Screen Beta, you can watch a full-length movie in a virtual cinema and even have friends throw popcorn and make a mess.
Add Friends on VRCHAT

Unfortunately, there is no way to add your Steam friends on VRCHAT.
The only way to add a friend is to enter their VRCHAT username and search for them.
While VRCHAT is on Steam, the two aren’t exactly interchangeable.
Access them in the Social menu and click Join to join them, or “Req Invite” to request an invitation if they’re in an invite-only room.
Setup VRCHAT
In the following, we will show you how to set up VRCHAT (for free!). You can use VRCHAT with and without VR glasses!
- Open [Steam].
- Go to [Shop] at the top and enter “VRCHAT” in the search bar.
- Scroll down and click on [Start game].
- A window will appear that says [Install VRCHAT]. With this window you install VRChat.
- At the top [Library] you can see the installation status in%.
- After the installation, you can click on [Play] in VRCHAT.
- Create a VRCHAT account.
- Now you will learn how to create a VRCHAT account (for free!).
You can use VRCHAT with and without VR glasses.
- Visit the VRCHAT official website.
- Click the [Login] button at the top right of the website.
- Click on the [Registration] tab at the top and fill out the registration form.
- You will receive a confirmation mail that you have to verify (email verification).
You can use VRCHAT on Oculus Quest and Quest 2.


![How To Install Kali Linux on Windows 10 [ ISO file ] Install Kali Linux on Windows 10](https://amazeinvent.com/wp-content/uploads/2022/02/Install-Kali-Linux-238x178.png)


