
Last Update: April 21, 2022
Here’s how to capture your computer screen using the built-in tools on Windows and macOS or third-party screen capture apps.
They are filming a project, or they play games, record them, and then post videos on YouTube. There are applications and shortcuts, which can have used to record a computer screen.
If a person has a computer with a microphone and webcam, recording the computer screen becomes easier.
Computer Screen Recording
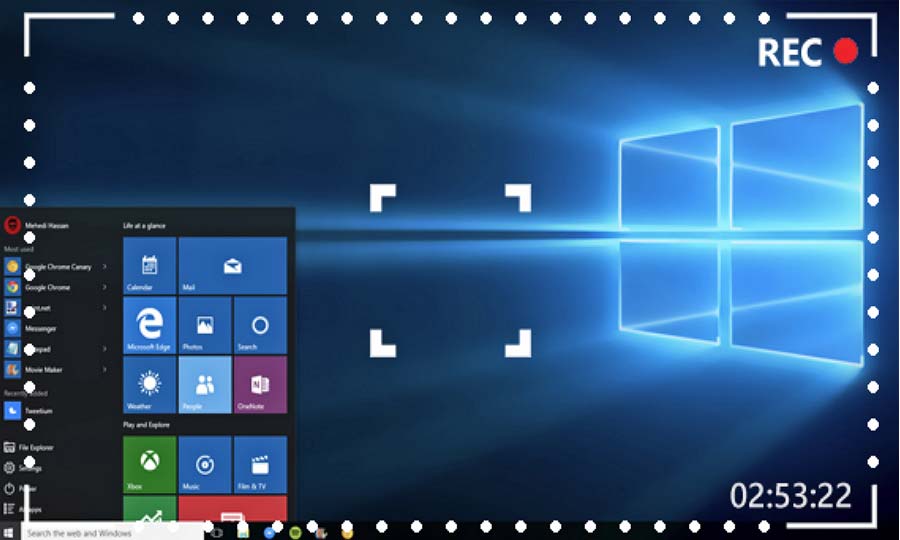
If users have Windows 10, then they can easily use their built-in screen recorder. This is specifically targeted towards recording games.
There is an Xbox app in every Windows 10; the user has to find it first. Then, they have to tap Windows+G on their keyboard, and click, “Yes, it is a game”.
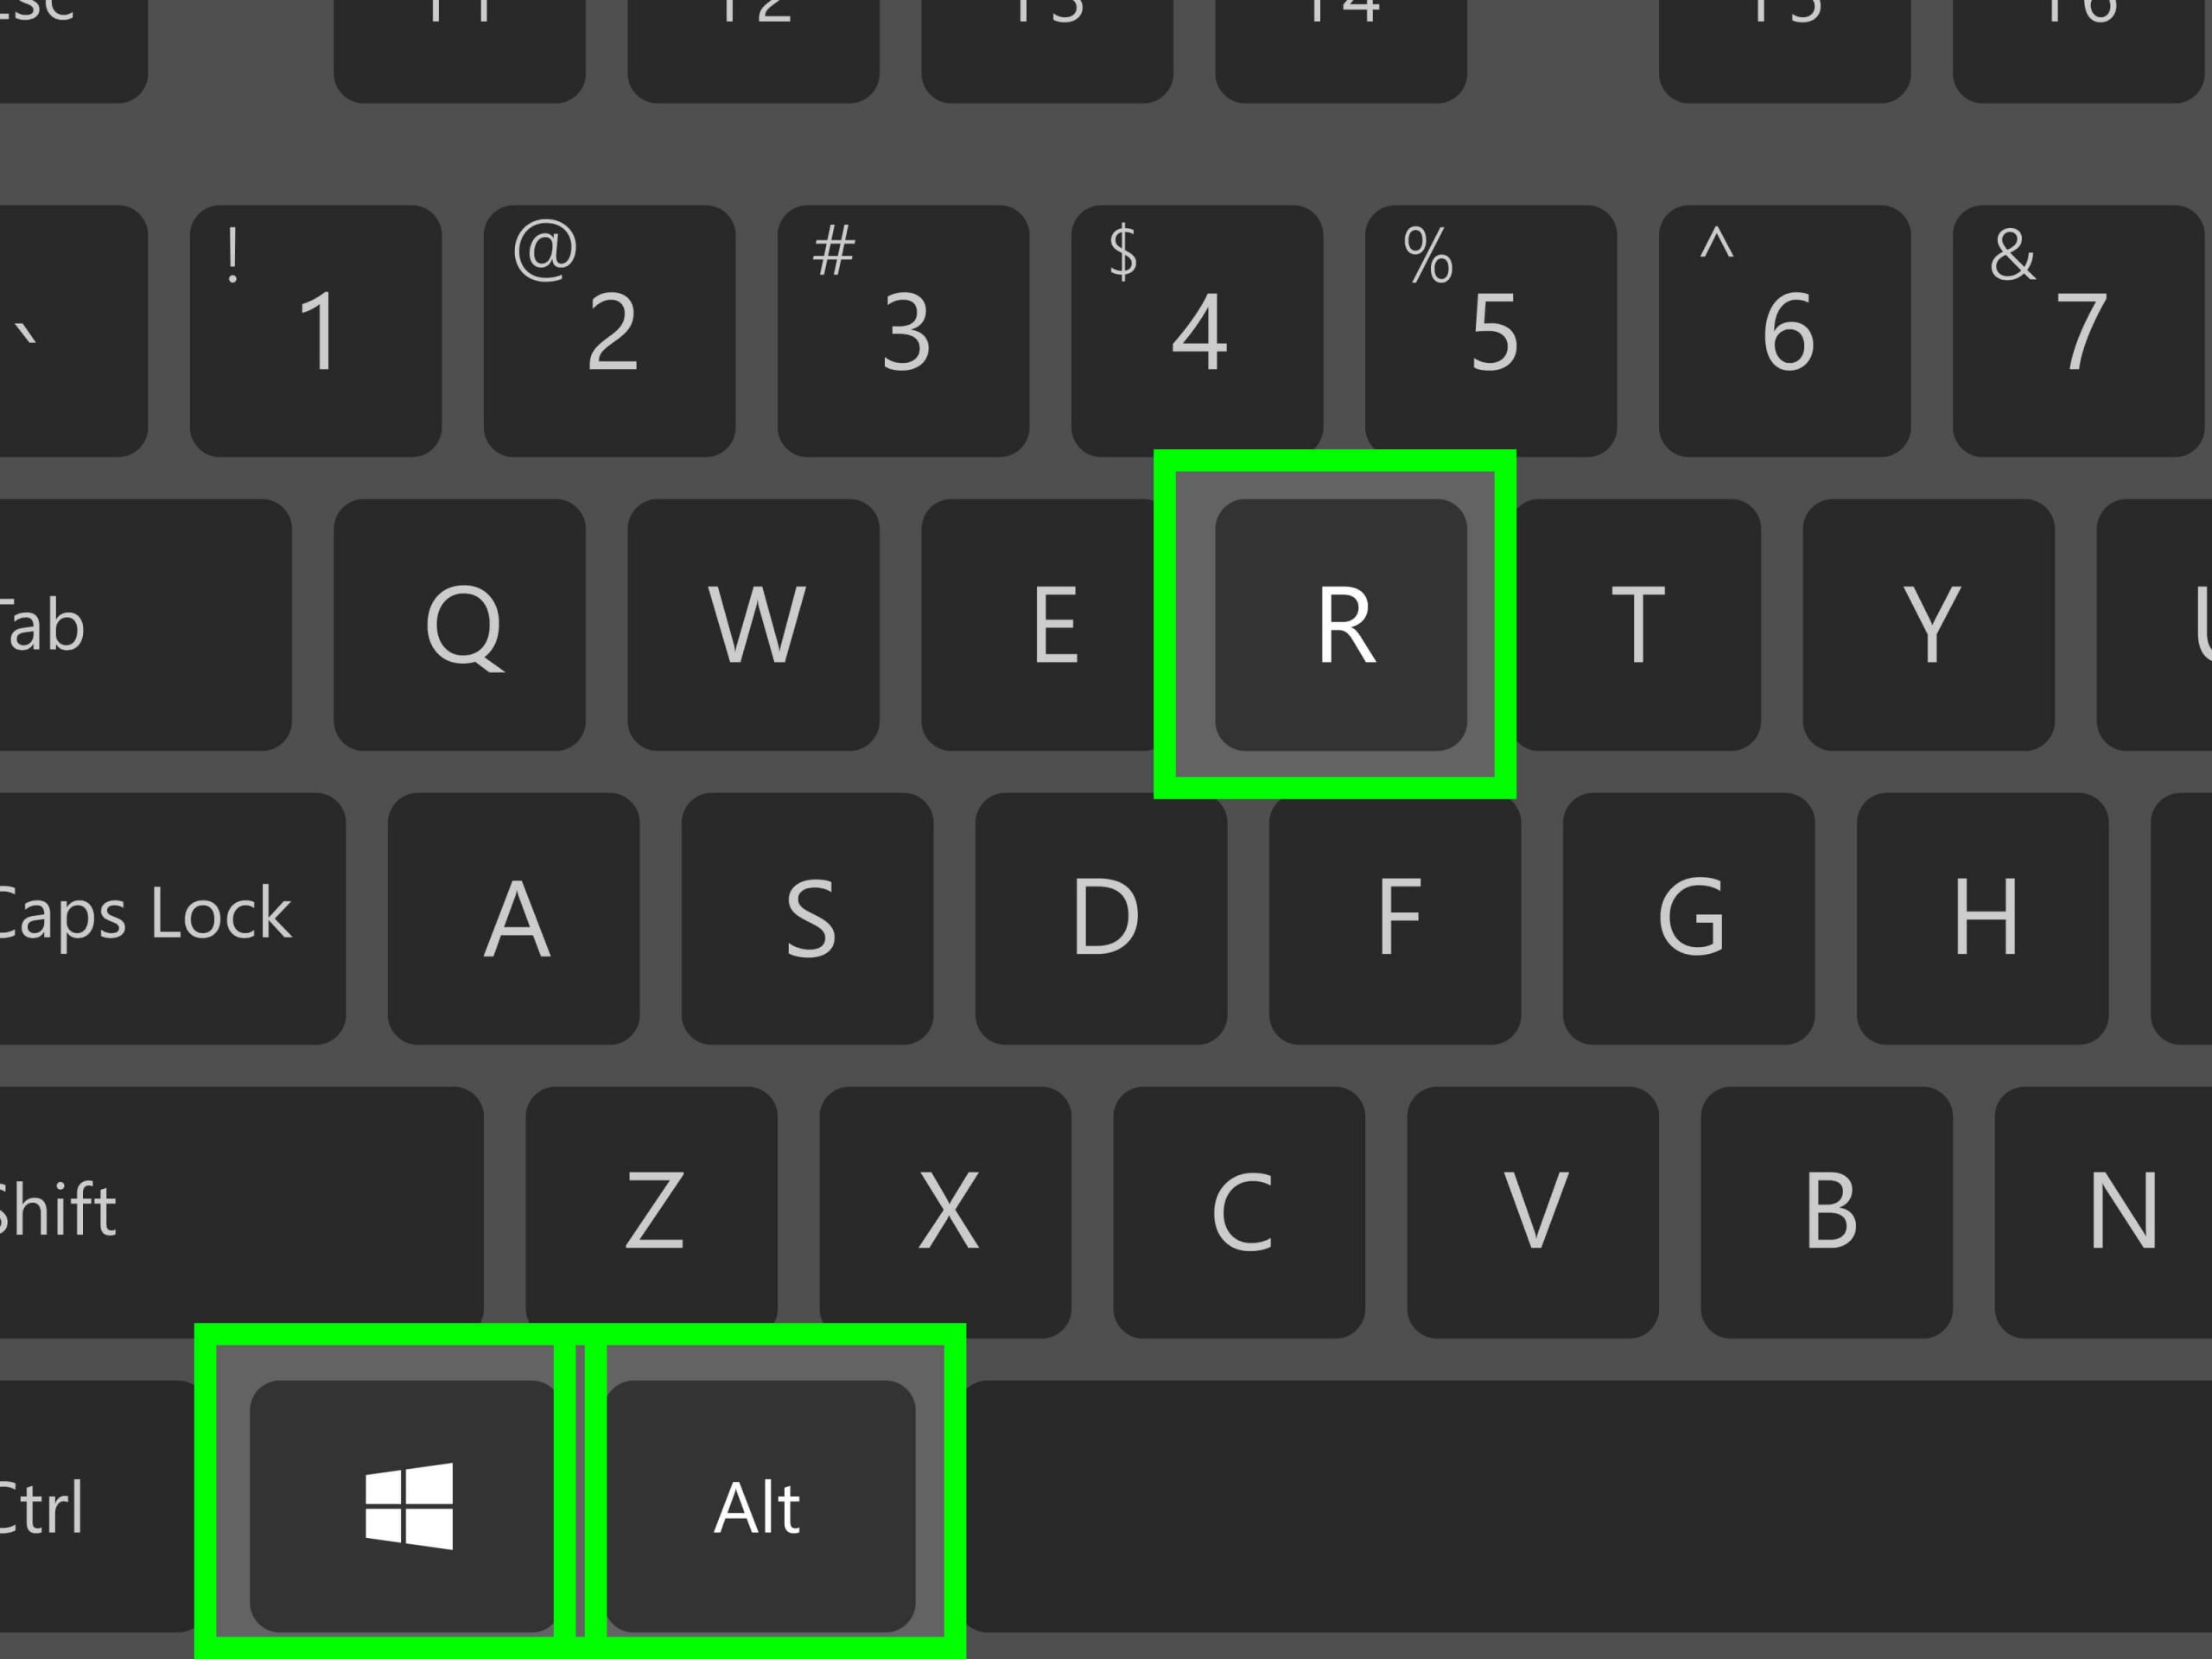
When they tap the above command, then they should click on start recording or use shortcuts. The shortcuts for starting the computer screen recording and ending it is, Windows+Alt+R.
Users might want to change the recorder settings. For this, they should log into the Xbox app, and open the Game DVR options.
They can’t change the destination folder where the recordings are saved, but they can change the quality setting. Users can change whether to record audio with video and set a maximum duration for video recording.
Note, that it is not the only way to record the screen of a computer. Users can download software that is designed to record computer screens.
Software for Screen Recording
They can either get Snagit or Camtasia, because this software, especially helps users in finishing a longer project. If there is a complex job, then there is no other software, better than these two.
While using the software, the user gets a chance to select the portion of the screen, which they want to record. If the user wants to record only the middle part, then they have to select the middle part, and the software won’t record the whole computer screen.
Further, the user has the choice to record with the audio or without audio. Before a user records anything on their computer screen, they should clean it up first.
Often, when students show a recorded screen for their presentation in class, they forget to close embarrassing tabs or windows.
This forgetfulness makes them the laughing stock of people, for a long time.
If an employee is recording a screen, to show a customer how an app or a game works, the software can have easily used. However, if the employee doesn’t close the apps that he has on screen, it could be considered unprofessional behavior.
Such software gives users the chance to edit their videos. If they feel that they need to cut some part out, like the ending or the beginning, then they can easily do so.
PPT Screen Recording
The rules are different for a PowerPoint presentation. If students want to record their PowerPoint presentation, then they have to follow the steps mentioned below:
- Open the Insert Tab in PPT
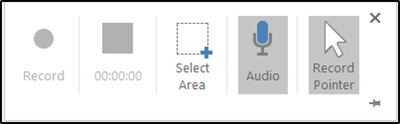
- Select screen recording
- Select the area, which needs to be recorded
- Click the record button
- Whenever the user wants, the video recording can have started and stopped
The user can either embed the recorded file, or he can save it in a separate folder.
YouTube Lives Streaming Recording

Many people want to record videos, but they don’t have the time to download software and understand it.
Live streaming on YouTube, is also a way of the recording screen. The person can do whatever they want to on their screen, and it would be live-streamed, which would be later saved in the person’s YouTube channel.
- Firstly, the user should sign in to their account on YouTube
- Then they should choose Live Events
- Live Events option is under Other Features
- The user should then enable live streaming
- Select a new live event
- Fill out the form, with all the required information
- Select the quick option, to immediately start live streaming
- Then tap the cursor on Go Live Now
- The user should now select the Screen share button
- Stop streaming when done
- Save the event
OBS Studio

It is a screen recording app, which records the whole screen, without any watermarks. If a user wants to have a live audience, while they are recording the screen, then they can do it pretty easily.
Even though the app takes a little longer to set up, it has some amazing features, which users will find helpful.
Recording screen is important for some people because it is the best way for them to share information with others.
Those who taking gaming very seriously would want to record their games and upload them on YouTube. Such gamers can easily use the Windows built-in feature of recording screens.
Read more: How To Fix: Surface Pen Not Working
Gamers like to advise other gamers, about what they should do at a certain game level. If they want to record audio, while the computer screen is recording, then this feature is also available.
Further, the feature of recording a computer screen can be helpful for teachers as well. When teachers are taking a class online, and they want to show students different methods of research, they can easily record their screen and do so.
If students face problems in accessing the course material, then they can prove it by showing their teacher, a recording of their computer screen.
Parents will find the feature helpful as well. If they are handing over a computer to their little one, and want to keep in check what they do on it, then they can record the computer screen.
The recordings are saved in a separate folder, and the parents can easily check what their children did on the computer.
Recording a screen is easy if a user is using the software. However, not much software is free to use, and it could be a problem for those who don’t have much budget to spend.