
Razor is a very famous hardware company that develops many astonishing products. Razor Synapse is software that can rebind Controls or assign macros to any kind of Razor device and automatically record all nail adjustments.
This software is much more solid, but there may be some errors. Razer Synapse is mainly used for controlling and organizing parameters regarding Razer Synapse travel devices like Razer keyboard, and Razer mouse.
How to Fix Razer Synapse Failed to Start?
Hence, you may encounter issues like Razer Synapse not opening to boot into your computer.
How to repair a Razor Synapse that has not started?
- First of all, before executing any type of instructions below you have to restart your computer.
- Rebooting your computer may refresh the operating system and it may remove all types of corrupted data that are causing the error.
- There may be various factors that can cause this issue ranging from Synapse software to a Windows update.
- Dealing with these mistakes can be frustrating.
There are a couple of steps I’ll tell you to solve your problem.
Read more: 10 Best Mice For FPS
The best way is to Reinstall the razor Synapse
- Press Windows + R to start the Windows application. Next, type ‘appwiz. cpl’ in the dialog box and Enter.
- A new window will pop up on your desktop.
- You have to make sake these actions for both razer synapses and razor crore.
- Click the right button, click the option, and select Uninstall.
- Press Windows +E to start File Explorer.
- Then go to the C: Program Files (x86) Razer slots.
- Click to display the layout at the top of the screen and check for hidden files.
- Remove all files from that directory location.
- A confirmation option will pop up, select YES.
- Later, tap window + E to start the File Explorer.
- Go to the following data slots from Razer programs directories and delete all data from there.
- After that, reboot your computer.
- Press Windows +R And type ‘devmgmt. msc. Navigate to the Device Manager.
- Find the category of your Razer device.
- Right-click the device and choose to Uninstall the device.
- If after following these steps you still do not get any solution on how to fix Razer Synapse failed to start the error and then proceed to the other solution below.
- It can be really hard to find the issue due to the unique parameters you have, but the best thing is that we will know that the application is running.
- If you try to open the Task Manager, you will be introduced to the Razer Synapse in the background.
Here are some instructions on how to do this.
- Click the ‘Ctrl, Shift, and Esc’ buttons on your keyboard simultaneously.
- The Task Manager will open. On the Processes tab, right-click the Razer Synapse process and select “End task”.
- Prelaunch Razer Synapse to verify that the problem has been solved.
These problems may help you solve this issue of not being able to start your Razer Synapse on your computer. All you need to do is follow all these instructions on the list above step by step.
Read more: Best Wireless Gaming Mice
How to fix the Razer Cortex that failed to start?
When it comes to gaming equipment, Razer is one of the most popular brands out there. But there are cases when you have got this application on your PC but it simply won’t open.
This question will walk you through some steps that might solve your problem.
- Try restarting your application by closing all instances. When you open the application again, the “failed to start” message should be gone
- Use Razer’s control center application to repair the app. To access the repair menu, go to Razer Synapse’s file location and try to uninstall the program.
- This will display the Razer Central on your screen, providing you with a few options one of which would be “repair”.
- Clicking on it will cause the application to make some updates, which will ensure that it works efficiently
- Update the Razer drivers.
- Run as admin.
- Whitelist Razer Synapse.
- Reinstall Razer Synapse.
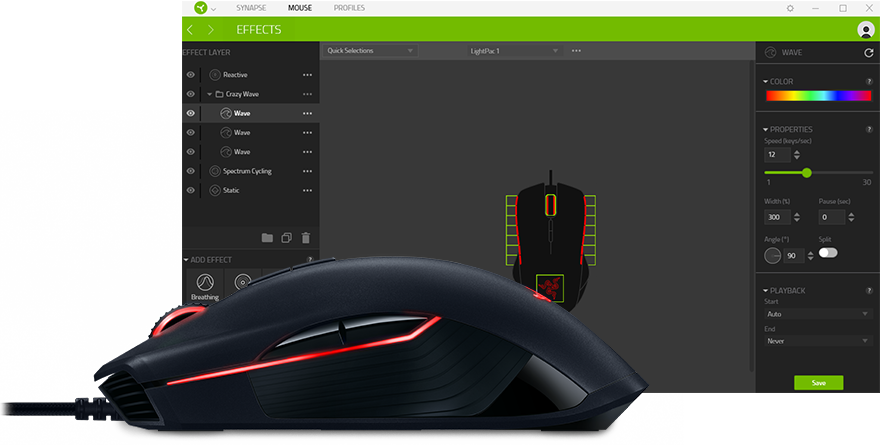
How to import Razer chroma profiles Synapse 3?
A profile is an excellent way of saving all the changes you have made on your device. A single profile is designed to store numerous settings such as key assignments and track panel options.
The following steps will show you how to import and export profiles in Razer Synapse 3:
Exporting profiles
- Open Razer Synapse 3
- Left-click the ellipsis icon, which will be present under the “customize” tab
- Left-click “Export”
- Select the profiles you would like to export. To do this, left-click their checkbox then left-click “export”. After this, you will be prompted on the save location of the exported file once you left-click “export”
Importing profiles
- Open Razer Synapse 3
- Left-click the ellipsis icon, which will be present under the “customize” tab
- Left-click “Import”
- Select the profiles you would like to import. To do this, left-click their checkbox then left-click “import”.
- If you want to import a previously exported profile, you can do so by selecting its location
If you want to import a profile from your RazerID, simply select the profile you want to import and left-click the “IMPORT” button.
After successfully downloading and installing Chroma Connect, follow these steps:
- Connect the supported third-party device
- Launch synapse 3
- Go to Connect–> Devices
- The supported device will be displayed on the left side
- To customize the lighting settings via Synapse 3, you can enable and disable the device from Chroma Connect.