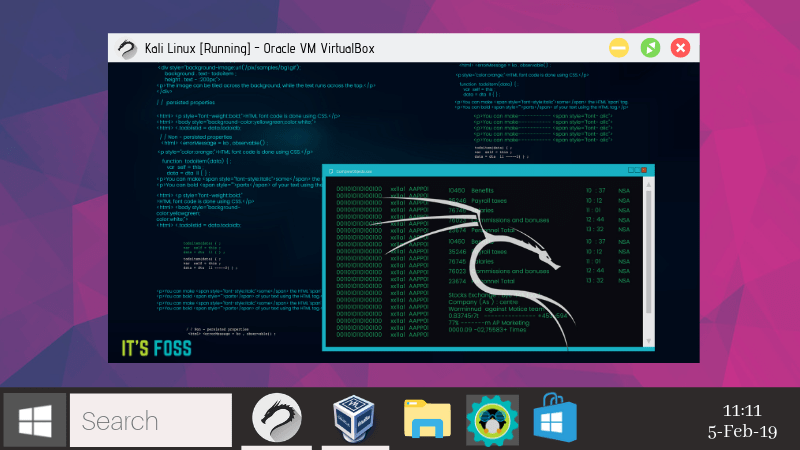
Before telling you to install Kali Linux on Windows 10, we should have information about that.
Kali Linux is a free open-source operating system based on Debian and includes some of the built-in tools used to test the security of a system, server, or website.
We are going to install Kali Linux step by step. If you follow the steps given in this article, you will not have any problem. See step by step.
How To Install Kali Linux on Windows 10?
First of all, we have to download the Kali Linux ISO file.
Here is the link is given below.
- You can download it.
- Download link: – Download Kali Linux ISO file Here.
- After visiting the website, you have to click on the download page of Kali Linux 64 or 32 bit depending on your system.
- Now you have to open the virtual box in your system If you haven’t installed yet Virtual Box, you can go to Virtual Box Post and install it.
- Now open the virtual box and then go to settings.
- Click on settings
- Click on storage
- After clicking on storage, right-click on Empty File and delete it.
- After deleting
- Click on the plus sign of the controller IDE
- Click on the sign of ADD(+)
- After clicking Add (+) you have to go to the Kali Linux ISO file which was downloaded from the download link in the article above, then you have to select this file and then click the open button.
- Then to click on the open button, click on double click, on the Kali Linux file.
- After pressing the button of double-click on the Kali Linux file, click on the button OK.
- Then click on Start.
- After that, select install and then press Enter.
- Then select English and press Enter.
- Then select your Country and press Enter.
Language section
- After selecting the Country, select the American language in the language section and then press Enter.
- After selecting the American language, you have to wait for a while.
- Then there will shown a warning, then click on continue.
- Now again, there will be shown a warning after waiting a while, then click on continue.
- Then again you will receive a warning, you have to write the password and then click on continue.
- Keep remembering that password.
- Then reenter the password.
- Then you will receive a warning again, after to what a while, you have to enter the username and click on continue.
- Keep remembering the username and password.
- Then select the guided-use entire disk and press enter.
- Then press the enter here too.
Place all files
- Here you have to press of All Files In One Portion and then press enter
- Then select the finish partitioning and write changes to disk and press enter
- Then click on yes
- After clicking on yes you have to wait of installing the system, until show any pop-up message
- After waiting a while, there will be shown a warning, then click on yes
- Again there will be shown a warning, you have to click on continue
- Again will show a warning, then click on yes
- There will show a warning then click on the second link
- Again have to wait a while and then click on continue
- After clicking on continue, enter the username and password here which you have created above
- Then click on log in and after that, the Kali Linux will show on the desktop screen
- Now you can see that we have installed Kali Linux on a virtual machine.

