How To Upload a Hitfilm Video to YouTube
To upload from hitfilm to YouTube, switch to the Export screen and select the YouTube option. HitFilm uploads your movie to the channel of your choice. Have you tried to upload a hitfilm video to YouTube?
Let’s begin!
What is HitFilm?
Have you ever heard about EffectLab Pro? If yes, then HitFilm is formerly known with that name. This HitFilm is a collection of two software(s), video editing, and composing. Both of these software(s) are sold by FXhome.
This family of HitFilm software(s) offers a different version of this software which includes the HitFilm Pro and HitFilm Express.
HitFilm Pro is the full version of this video editing software whereas the HitFilm Express is the free version but with limited features.
Other than this HitFilm, there are many other programs like this, such as Adobe Premiere Pro, Adobe After Effects, Vegas Pro, and Final Cut. You surely would have heard this name before for sure but this HitFilm is an impressive alternative to all these expensive applications.
I am going to talk widely about HitFilm Express which is a free version of this great HotFilm software.
HitFilm Express
This is free software that lets you edit videos with professional-grade VFX tools and with every feature you would ever need to make your content one of the best, whether it is films, clips, or gaming videos.
I, myself recommend this HitFilm Express as a perfect choice for beginners, students of film industries, gamers, YouTubers, and all other creative people out there who have no budget to spend on expensive software(s) which I have mentioned right above this paragraph.
You get to do your work on the next level with the help of this HitFilm Express and its huge array of features that provide the amateurs as well as professional users with everything they would need to make their content incredible and to the complete end.
Now, I am going to mention these great features of this great HitFilm Express.
Layer and Track Locking
With the help of this feature, you can easily lock the individual layers and tracks to protect the content in those layers and tracks and prevent that content from being deleted or changed while you are working on the project.
A lock icon will appear on the layer or the track you have locked.
Timelines are Combined
You can switch to another tab according to your work and needs, just like the way you do on web browsers.
These tabs can help you in lots of ways, for instance, you can do the editing work in tab number one, composite in the second tab, and keep switching between these tabs without any issue.
Personalized WorkStation
You can adjust the interface according to you with the help of collapsible and expandable panels to make sure that you have access to the things you need and you may not be distracted by the panels you don’t need.
The personal interface that you personalized for yourself can be saved as your default layout as well.
Superior Performance
You get great performance capability here, as you can customize the playback quality of your content and the paused quality as well. With this feature, you get to experience swift playback in the editor and the trimmer, it prevents lagging and makes it much easier for you to time up edits and cuts.
You don’t only get to change the playback quality; you can also control that quality from the menu in the viewer’s view. This feature simply allows you to make faster and greater edits.
Mask Editing and Rendering
Masking feature is used to create a matte manually and matte is used to determine which part or parts of a layer are visible.
If you talk about it practically, then this means that these masks are used to cut holes in your layers.
Mask editing on this HitFilm Express is faster than ever before, it is enhancing and speeding up the process of rotoscoping swiftly. As much as you increase the video quality, the performance of this software has been boosted to be capable of handling every single feature of it without any problems.
Export Queue
This export queue feature from HitFilm Express permits you to set up a list of edits and shots that can be exported while you are away from the desk.
This is a very helpful feature to be very honest. Imagine if you are in a rush and you close down the software suddenly, at the very moment you load it back up, the export process will automatically resume from the very point you closed it.
Export Presets
This feature of export presets lets you configure the settings of exports for high quality or high compression, according to your needs. What you have to do is just drag and drop the presets you have selected, making them the default, and then simply move on to the next task.
The export quality is available in multiple formats, including 16-bit color as well, and industry-standard GoPro Cineform for users of Windows, or QuickTime ProRes for users of Mac.
Professional Formats
This HitFilm Express supports UHD quality and RAM preview as well, this feature ensures the best quality for the projects you will be working on.
It doesn’t matter if you are working with all footage, from the shots of your vertical smartphone to the clips or documentaries from high-end professional cameras, HitFilm Express can handle it all without any issue.
Intelligent Search
With this great helpful feature, you can search and locate what you need very easily and quickly. You just have to access the keyword search of this HitFilm Express and type whatever feature you need at that moment for your media, effects, and composite timelines. It will quickly locate that feature for you.
And even if you have been using different software for a long term of time and have just switched to this great HitFilm Express, then you will still have no problem with searching features.
The algorithm of this HitFilm Express is very impressive, as it recognizes the keywords of that feature and will find what you are looking for.
HitFilm software
The HitFilm software itself can upload your movies to YouTube automatically. This is the simplest and the quickest way to get the high-quality version of your work uploaded on YouTube in front of a huge number of audiences.
I will now tell you how to upload your HitFilm content to a YouTube Channel.
First of all, switch to the Export screen and choose the option which says “YouTube”. And then follow the steps I am now going to mention below.
If this is your first time doing this uploading process then I will guide you while briefly telling you about every option you will see in every step.
- ACCOUNT: Insert your YouTube account name here.
- PASSWORD: Insert the password to your YouTube account here.
- TITLE: This option allows you to set a name for your video. Choose wisely and insert a good and attractive title.
- TIMELINE: Select the timeline you want your project to export
- EXPORT AREA: You get three options: Export the entire timeline, part of the timeline including the actual content, and a specific part of the timeline including your work area.
Scale Model
This will adjust the aspect ratio of your timeline according to the video standards of YouTube. It will determine how it is adjusted to fit. CENTER preserves the original size of your timeline.
IGNORE ASPECT RATIO widens the video to fill the frame.
KEEP ASPECT RATIO resizes the video and uses letterboxing to hold the aspect ratio.
KEEP ASPECT RATIO BY EXPANDING and resizing the video until there is no further need for letterboxing.
If your video has the correct resolution, it will automatically skip this option for you.
- LENGTH: Set the duration of the video you want to publish.
- DESCRIPTION: Describe the video here, about the content, or whatever you want. This description will be displayed just below this video on your YouTube channel.
- CATEGORY: Select which category you want to upload this video on, you get to select from the default categories from YouTube.
- TAGS: Tags help in describing the content of your video. Choose tags according to the actual content of your video.
- RESOLUTION: Here you get the option to select between Standard Definition and High Definition accordingly.
- MAKE THIS VIDEO PRIVATE: After setting your video to be private, you will have the capability to give access to your video to specific users only. This is optional, whether you want to avail of this or not.
This is a very easy procedure to be very honest and still, if you ever had a problem uploading HitFilm on YouTube then I am sure that this article of mine would help you for sure.
Is Hitfilm movie expression good for YouTube?
HitFilm Express
HitFilm is another big player and is a very popular free program that YouTubers use to edit videos.
The basic software is free, but if you need more functionality, you can pay for specific tools.
Like the Devenchi solution, new users often need some time to get acquainted with the hit movie.
How do I recover from a hit movie?
You can select multiple clips on the editor timeline, or multiple layers on a composite shot timeline, and then right-click on any item and choose to add it to the export queue.
How do I activate Hit Movie Express?
To set up Express, go to the Hit Film Express homepage and click the Get HitFilm Express Free button.
Follow the prompts. This will activate the current hit movie in your account. You can now download the existing Express Install program.
Is HitFilm Express free?
HitFilm Express is free software and it doesn’t cost a penny to download.
It doesn’t have all the advanced tools available in the Pro version but simple video editing and VFX functions. For, this is one of the best.
Is there a watermark in the hit movie?
Watermark on Hit Film Express. This means that you are using Hitfilm Express with an effect that comes in an add-on pack (marked with a green “add-on” in the name) that you did not purchase.
If you remove the effect from your shot, the watermark disappears.
How to Fix the macOS Could Not Be Installed?
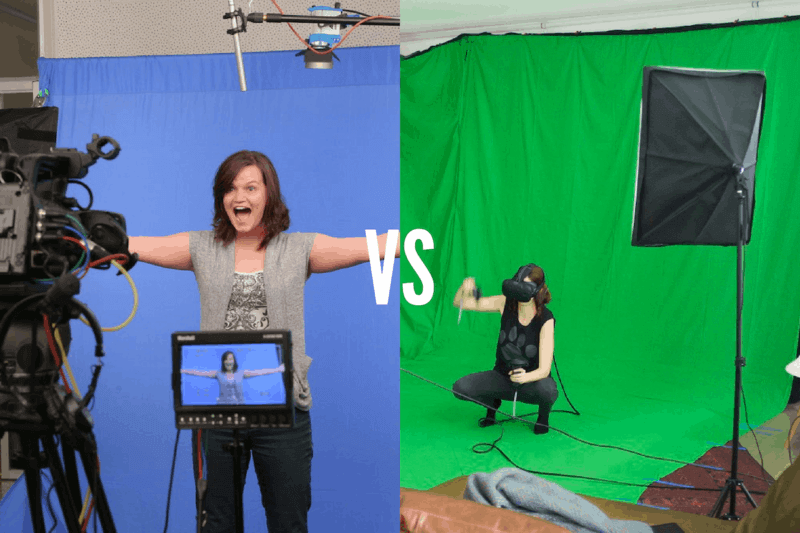
Green Screen vs Blue Screen What You Need To Know
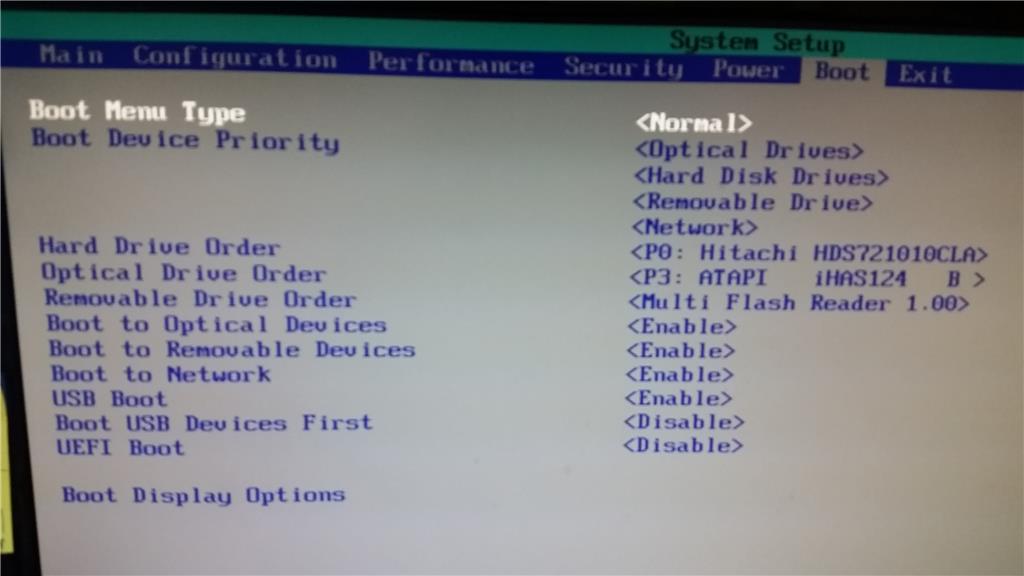
How To Change Boot Order in Windows 10?
About The Author
Mujeer
Mujeer is living in Pakistan. He has worked as a journalist for nearly a decade having manager authority on several large publications including Techs and the AmazeInvent. As a manager for AmazeInvent, he covers national and international developments.