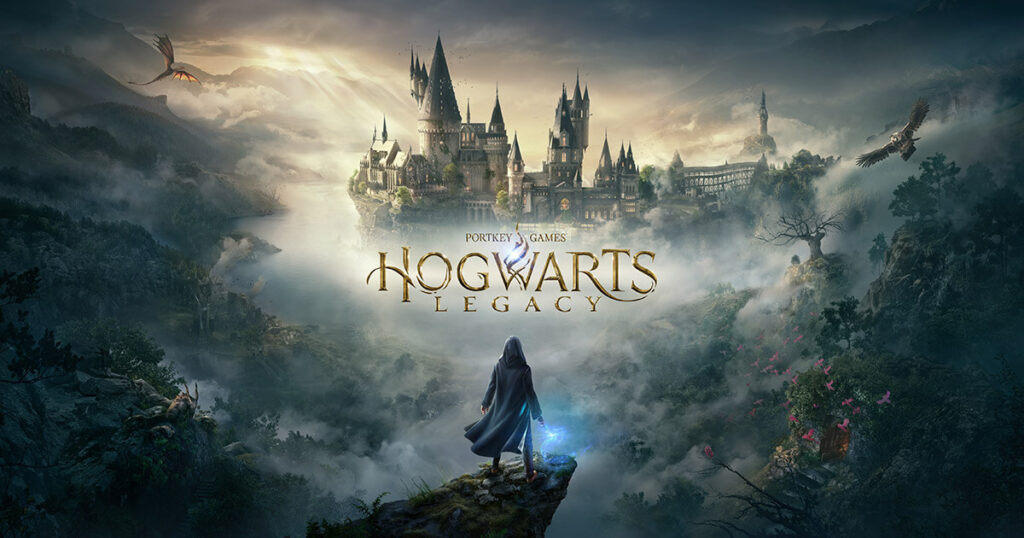
Hogwarts Legacy is an upcoming action role-playing game that has been the center of attention since it was announced in 2020. The game was released in 2022, but some players might be facing issues with EMP.DLL files that are causing the game to crash or not open at all. These are an essential part of any game. So, a problem with them can be frustrating for any player.
DLL files contain code and data that can be shared by multiple applications. They are used by Windows and many other programs to perform various tasks and improve performance. They are also used by many applications, including video games like Hogwarts Legacy.
In the context of video games, DLL files can help in rendering graphics, playing sounds, and managing system resources, among other things. Any issues with these EMP.DLL files can cause errors in the game. This can lead to the game crashing, freezing, or closing.
4 Ways To Fix Hogwarts Legacy EMP.DLL Is Missing Error
Update the Game
The first step to fixing EMP.DLL errors in Hogwarts Legacy is to make sure that the game is up to date.
To check for updates, follow the steps below:
- Open the game launcher or Steam client.
- Look for any notifications or prompts for updates.
- If there are no prompts, go to the game’s properties or settings and look for an option to check for updates.
If there is an update then do these steps:
- Install the latest updates.
- Restart the game launcher or Steam client.
- Start the game and see if the EMP.DLL is fixed.
Reinstall Hogwarts Legacy
If updating the game did not fix the EMP.DLL, the next step is to try reinstalling the game. To uninstall the game, follow these steps:
- Go to the Control Panel and click on the Programs and Features option.
- Find Hogwarts Legacy in the list of installed programs.
- Click on Uninstall and follow the prompts to remove the game from your computer.
- Download the game installer from a trusted source.
- After running the installer, follow the steps to install the game.
- Restart the game launcher or Steam client.
- Start the game and see if the EMP.DLL is fixed.
Update Drivers and Windows
Outdated drivers and the Windows operating system can cause EMP.DLL errors in Hogwarts Legacy. This is because the game requires specific drivers and system files to run correctly. If these files are outdated or missing, the game may fail to load or crash.
To update drivers, follow these steps:
- Right-clicking on the Start menu to open the Device Manager. Then select it from the list.
- Find the device you want to update. Then right-click on it to open options.
- Select Update Driver Software. Follow the prompts to download the latest driver.
To update Windows, follow these steps:
- Open the Settings app and go to Update & Security.
- Click on Check for updates and wait for the system to check for updates.
- If there are any updates, click on Download and Install.
- Restart your computer and check if the EMP.DLL error in Hogwarts Legacy is fixed.
Use A DLL Fixer Tool
A DLL fixer tool is software designed to identify and repair EMP.DLL issues in your operating system. These tools scan your system and detect errors that might be causing the DLL files to malfunction. They can then repair and replace the damaged or corrupted.
There are many DLL fixer tools available online. However, not all of them can be considered good. Make sure you download a reputable tool from a trusted source.
Follow the steps below after you have downloaded a DLL fixer tool.
- Open the DLL fixer tool and select the option to scan for issues.
- The tool will scan your system for any damaged or missing.
- The tool will present you with a list of errors once the scan is complete.
- Choose the option to repair the errors, and the tool will replace or repair the DLL files automatically.
- Restart your system and check if the issue has been fixed.