
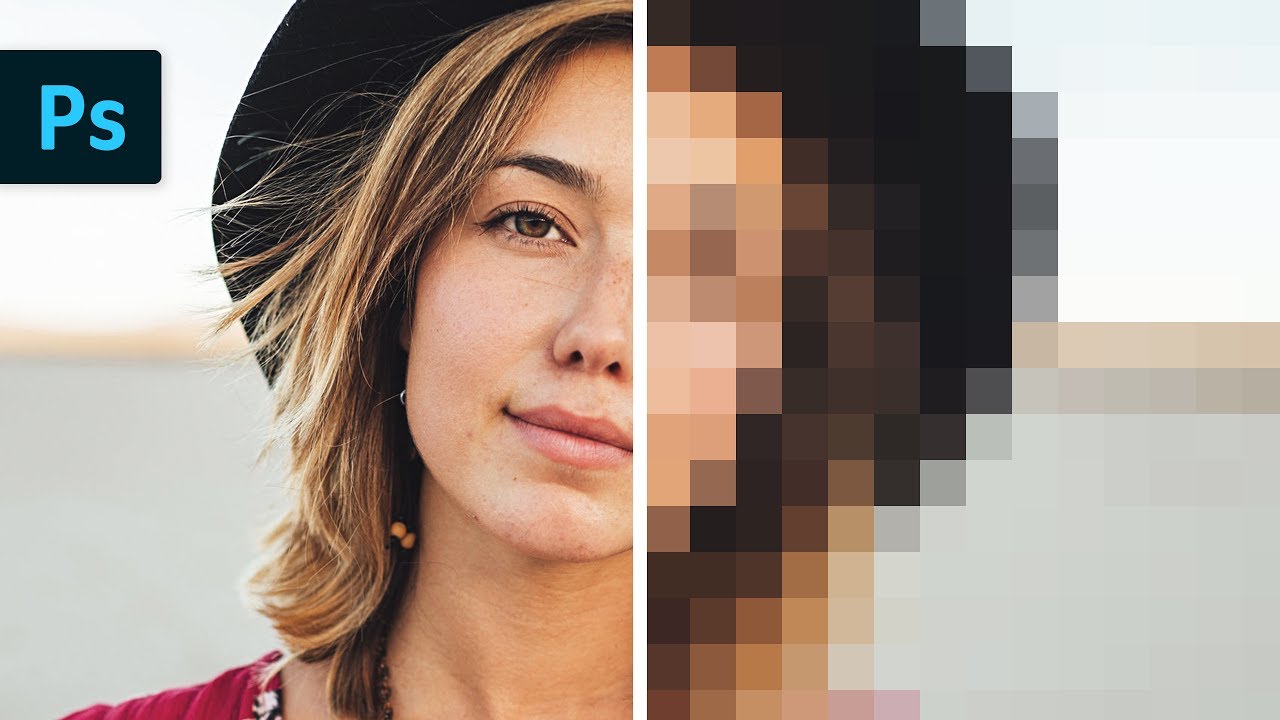
Resizing of images to make it larger often resulted in losing pictures quality, and the resulted enlarged image looks unprofessional and blurry with breaks of pixels.
Why images lose their quality while resizing?
Images often lose their quality when you resize the picture to enlarge. While doing so, the pixel map in which these pixels are located in the fixed location on the image is extended more than its capacity.
Hence, the pixels become visible on the images, which looks blurry. Don’t worry! Enlargement of the picture is possible from a small image without losing the quality.
In this article, we will discuss the three best methods through which you can resize your images without losing quality.
What is the simple method to resize the images?
An image can be resized by the following methods.
By using Perfect Resize software
Pictures can be resized through the software. Perfect Resize is a software used to resize the images. This can serve as standalone software, as well as a plugin software for Adobe Photoshop.
Two versions are available for this software, the regular version and the premium version, which can plugin to the Adobe photoshop.
You can enjoy a free 30-day trial on both of the versions. Here is the step to resize the image by using this software.
Steps to follow
At first, you need to install the software.
- Once you install, open the desire image file in Photoshop that you want to resize.
- Follow the simple step, and open the File, then select Automate.
- Once you select Automate, another window will open, then select the Perfect Resize option.
- This will result in the image to open in the Perfect Size application.
- At the left-hand side menu bar, there is a preset option, so either select from preset or insert your own size in the Document Size.
- After applying the resize option, you need to enter into the File, and then Apply to save changes, and again click on Apply to save the file in Photoshop.
Finally, export this file to the desired folder.
Through free software, Gimp
Gimp is another resize software that is an alternative to Adobe Photoshop and free to use. This software resizes, as well as to enlarge the images. However, it works with the losing quality of images, as minimum as possible, therefore, the result will not be as perfect as Perfect Resize.
Here are the simple steps to resize the small images to the larger one by using Gimp with a little bit of quality loss.
Read more: How to Center an Image in Photoshop?
Steps to follow
- At first, open the desired image in Gimp that you want to resize.
- Then go to the Scale Image.
- Now enter the new size you want to apply.
- Go to the Quality section where you will find the Interpolation method.
- Choose Sinc (Lanczos), and click on the Scale button.
- Now the picture will have been resizing, export to the desire location in the device.
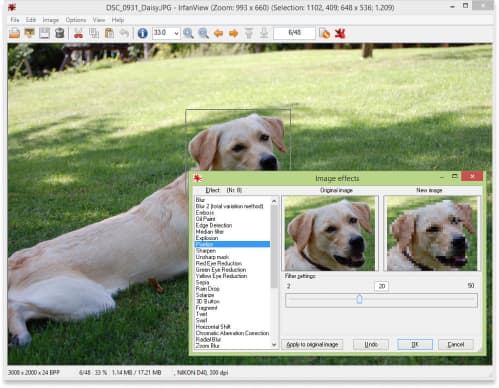
Through windows photo editing program
Pictures can also be resized through the compact photo editing program, like Irfanview that is available only in Windows-based operating systems.
Read more: How to Perform a Reverse Image Search 2020?
Here are the simple steps to follow.
- First of all, open the desired image in the Irfanview program.
- Then select Image, and then Resize or Resample.
- This will result in the displaying of image resize popup window.
- You need to add the desire image size in the Set Image Size.
- Afterword, you need to click on resample under the Size method in the same window.
- Select the Lanczos (slowest) option from the filter drop-down menu.
- Finally, check on the checkbox which is next to ‘Apply Sharpen After Resample’.
- Enter the ok button, now the image will have been resized, which can be saved in the PC for the web.