While some people may choose to use Zoom on the go by using a mobile app, whereas other people may want to download the video platform for their Mac desktop or laptop and maybe hard to download Zoom on Mac.
By using Zoom on a desktop provides for more screen space and viewing options for meetings and recordings.
Zoo’s website setting are already programmed to start automatically downloading the desktop app when you first try to host or when you want to join a meeting with a Meeting ID.
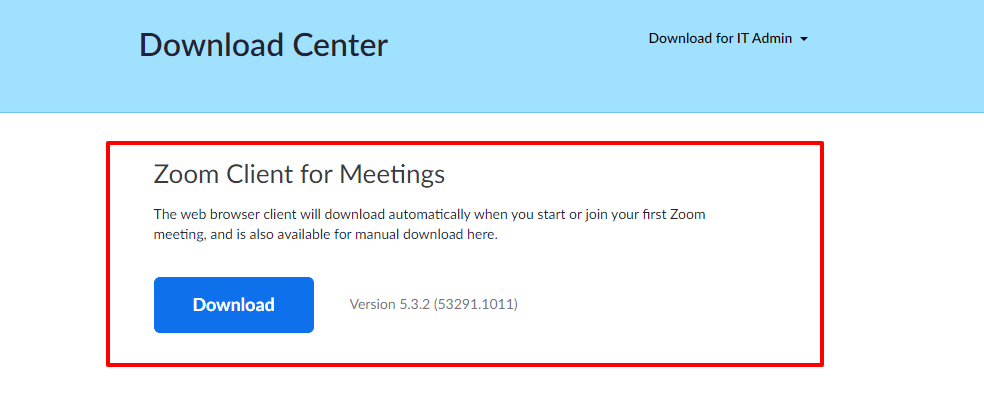
Although, you can also manually download the app by going to Zoom Download Center and then selecting “Zoom Client for Meetings.”
When the download starts, it takes just a few steps to complete the process.
You will instantly find yourself at the login page, where you can sign in or sign up for the program.
When you have it downloaded, you can easily access your new app at any of the time in the Mac Launchpad.
Here is how you can download Zoom.
This is how to download Zoom on your Mac?
If you have never used Zoom before, then clicking an invitation link or going to the main Zoom website to join a meeting will automatically prompt the app download.
You do not have to set up an account to join a meeting, and Zoom will start the download anyway, so just simply enter the Meeting ID in the app.
Skip the first four or five steps if Zoom automatically downloads. If the download fails or if you want to do it manually, then follow these steps to add the Zoom app to your Mac.
- Open the Zoom Download Centre in your internet browser which you prefer.
- You can find this by just entering here.
- Then click on the blue Download button below the Zoom Client for Meetings.
- This is the basic Zoom app for Mac computers.
- Depending on your browser settings, this will then open a pop-up menu which will confirm that you want to allow the downloads from this website. Click on “Allow” if prompted.
- This will then instantly begin the download. Click in your download spot, which on Google Chrome or Safari is found in the top right corner.
- Double click on it to open the download.
- This will start the installation process.
- Click on Continue on the Install Zoom pop-up menu appearing on your desktop.
- Click on Continue again if prompted.
Zoom should then finish the downloading quickly. You should now be on face to face with the login screen. Enter a Meeting ID to join an ongoing meeting, or simply sign in or sign up at this time.
There are two ways to download and install Zoom on Mac.
You can download the apps from the web and then install them OR you can download the apps from the Mac App Store.
By installing an app from the App Store is very easy and it is safe and secure. Although, the Mac App Store does not have all the apps, which may include Zoom also. You can download from the Web also but the process is a bit more complicated.
Follow these steps also to successfully install Zoom on your Mac:
- Open a Web browser on your Mac such as Safari.
- Visit on the Zoom download page.
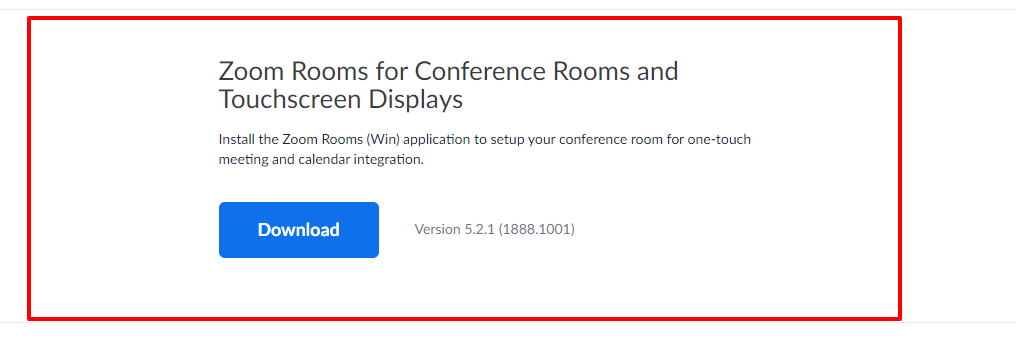
- You can install Zoom or Zoom Rooms.

- Choose one and then click on the blue Download button, and your download will begin.
- Unless it is changed, your download will be saved to your Downloads folder, this will be a PKG file.
- Find this file which you just downloaded and then double click on it.
- This will then start the installation process. You can run into an error message which says “Zoom.pkg cannot be opened because It was not downloaded from the App Store. your security preferences allow installation of only apps from the App Store”.
- If you see this message, then you have to change your Mac’s Gatekeeper (a security feature) setting.

Here is how you can do that:
- Click on the Apple menu on your Mac.
- Then click on System Preferences.
- Click on Security and Privacy.
- Click the General tab.
- Find the “Allow apps downloaded from” section and then you have to select the “App Store and identified developers” box.
- To make the changes, you will have to click on the lock icon and then enter your admin password.
Now just open the file again. Just follow the onscreen instructions to complete the installation procedure.
Read more: How to Use Powerwash Chrome?


